Janmashtami 2026: How to make dhaniya panjiri at home? Follow these 6 simple tips by nutritionist Karishmma Chawla
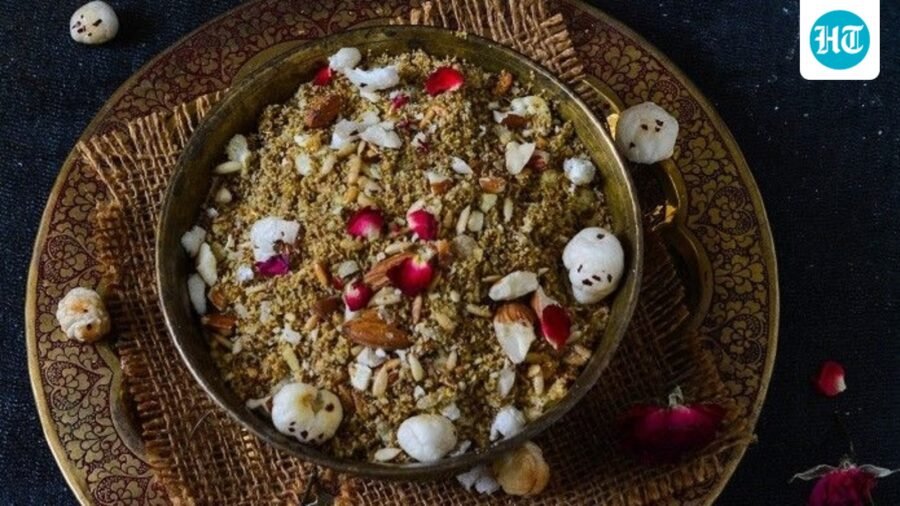
How to make delicious dhaniya panjiri at home with these six simple tips from nutritionist Karishmma Chawla for a festive Janmashtami celebration.
Published on: Sep 4, 2026, 11:00:39 IST
Prefer HTon Google
Share via
Copy link
Janmashtami special dhaniya panjiri recipe: Krishna Janmashtami is here, and people are excited to celebrate. Hindus across India and beyond are joyful as they chant "Jay Shree Krishna" and look forward to breaking the dahi handi. This festival marks the birth of Lord Krishna, who is the eighth avatar of Vishnu. On this day, prasad is an important part of the celebration.
What is panjiri made of?
Panjiri is an important dish for Janmashtami, especially in North India. It is made by frying wheat flour in ghee with dry fruits, sugar, and a special gum called gond. However, there is a special kind of panjiri called dhaniya panjiri, which uses coriander seed powder instead of wheat flour. This variation is made because people avoid grains during Janmashtami. Dhaniya panjiri is a key prasad offered to the Lord.
How to make dhaniya panjiri?
Here are six simple tips to prepare dhaniya panjiri at home by nutritionist Karishmma Chawla:
1. Roast coriander seeds perfectly
To make dhaniya panjiri, roasting coriander seeds is important to enhance their flavor. First, put the coriander seeds in a pan over medium heat. Roast them for about 3-4 minutes, stirring frequently to avoid burning. The seeds are ready when they smell strong and aromatic. After roasting, transfer the seeds to a plate and let them cool completely before grinding. This step is essential because it improves the flavor and aroma, making your panjiri tastier.
2. Grind until you reach the right consistency
After cooling, grind the roasted coriander seeds into a coarse powder. Don't grind them too finely, as a coarse texture gives your panjiri a nice crunch. If you grind the seeds too smoothly, the panjiri will lose its desired texture. Use a spice grinder or a blender, and pulse in short bursts to get the right consistency.
3. Add ghee for richer flavors
Ghee, or clarified butter, is important for making dhaniya panjiri. It gives the dish a rich, nutty flavor. First, heat the ghee in a pan on low heat to prevent burning. Once it has melted and is hot, add the ground coriander powder. Cook slowly on low heat to blend the flavors without burning. Stir continuously to cook evenly and prevent sticking.
4. Let the mixture cool before adding other ingredients
After roasting, take the pan off the heat and let the mixture cool slightly. Cooling is important because it stops the powdered sugar and other ingredients from melting or sticking together. When it's cool enough, add the powdered sugar, grated coconut, and chopped nuts such as almonds and cashews, and raisins. Mix everything well to combine the ingredients evenly. This cooling step helps maintain the right texture. It ensures the sugar and nuts blend well with the roasted coriander powder.
5. Store properly
You can enjoy Dhaniya panjiri right away or save it for later. After it cools down, put the panjiri in an airtight container to keep it fresh. If stored properly, it can last for several weeks, so it's a tasty treat to have on hand.
(Disclaimer: This article is for informational purposes only and is not a substitute for professional medical advice. Always seek the advice of your doctor with any questions about a medical condition.)
Catch every big hit, every wicket with Crick-it, a one stop destination for Live Scores, Match Stats, Quizzes, Polls & much more. Explore now!.
Catch your daily dose of Fashion, Taylor Swift, Health, Festivals, Travel, Relationship, Recipe and all the other Latest Lifestyle News on Website and APPs.
See Less



Leave a Reply